Both photographers and purists benefit from shooting in manual mode. It can capture photos that look exactly like you want.
As soon as a photographer understands how the aperture affects an image and how light is captured.
Understanding manual photography also helps you learn to use Program Mode, Shutter Priority, and Aperture Priority. I don’t want to mention Full Auto Mode because I don’t recommend using it.
The best way to learn how to use manual mode is by practicing. Start by setting your camera on automatic mode, then switch to manual mode and take pictures. This will give you an idea of how the camera works and allow you to see which settings produce good results.
It’s more creative
Photography might be a perfect choice if you’re looking for a new hobby. It’s easy to start shooting in manual mode and explore the various settings available. There are so many options that you can try out different techniques to capture unique images.
Try to see Manual mode, like a no limit of what you can do.
Easier to edit photos
Manual mode allows you to control every aspect of your camera. This includes shutter speed, aperture, ISO sensitivity, white balance, and focus. These settings allow you to take creative control of your shots.
Usually, AUTO modes make the files challenging to edit because they give you a “final” photo to post. However, you will destroy files, cause color degradation and noise, and lower the image quality if you try to adjust anything. When shooting in JPEG instead of RAW.
More control over exposure
The manual mode allows you to adjust your exposure in various ways.
You can change each setting without affecting the other.
Here are a couple of examples:
Capture motion

if you want to capture some motion and adjust the exposure, you can lower the shutter speed and compensate with ISO.
Your perfect exposure settings are f5.6, 1/125, and ISO 400. Depending on the motion you want to capture, you need to adjust the shutter speed setting; in this case, let’s say we are shooting a walking person; we need to lower the shutter speed to 1/30 and lower the ISO sensitivity to 100 ISO, so we compensate the light and stay at the same initial exposure.
Freeze action
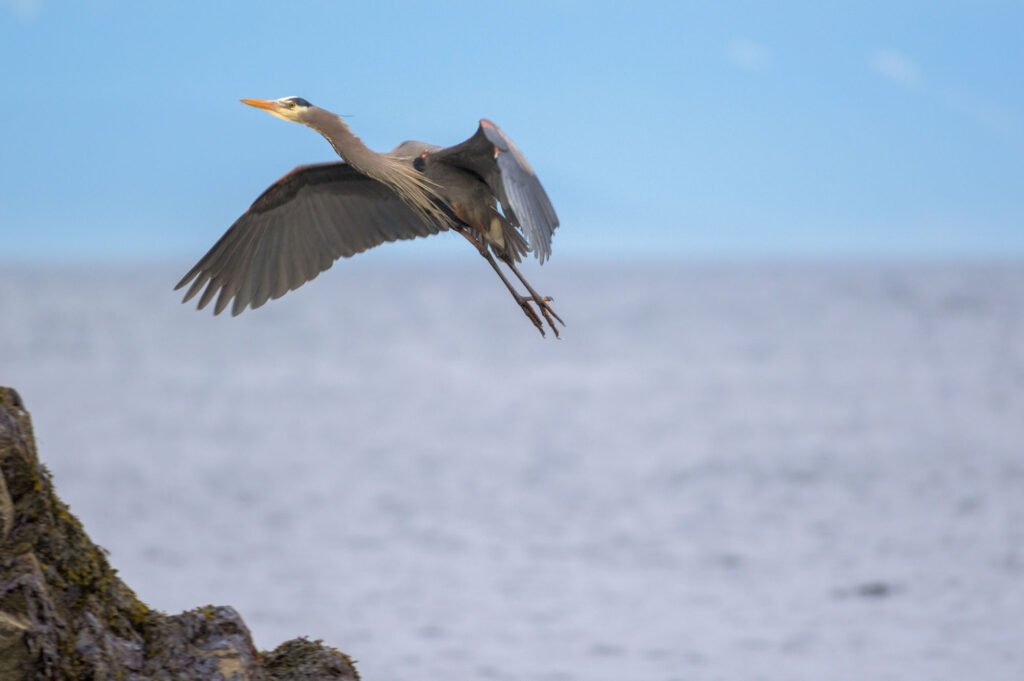
This time your proper exposure is f2.8, 1/60, ISO 200, and you want to freeze a bird flying. Birds are fast-moving animals, so you need to increase the shutter speed quite a bit. Your new exposure would look like this: f2.8 1/2000, ISO 6400, upping the ISO those five stops to compensate for the shutter speed.
Each situation differs depending on the subject, object, or scene you want to capture.
You need to remember that on some occasions, you will face a physical limitation because the lens you have is not closing down to, let’s say, an aperture of f2.8.
More time to think about the shot
Manual mode allows you to adjust the camera settings rather than relying on automatic modes. This way, you can plan the shot as you want and tweak it slowly until you get what you want.
It also helps with the mindset of owning every aspect of the photo you are taking, including the composition.
A quick tip would be to practice each scene before you shoot so you are prepared and know what to do in certain situations.
It helps you create unique images
If you want to take some fantastic shots, the manual mode might be what you need.
It lets you control every camera aspect, giving you complete creative control. This means you can use the camera as an artistic tool rather than just a device that takes pictures.
As mentioned before, you can individually change each setting without affecting the others to achieve that creative artistic effect.
A great example is when trying to capture a day-to-night timelapse where you must change the exposure every 1 to 5 minutes before every shot. Many expensive devices help you achieve this, but starting with the basics helps you understand the process.
Using flash with manual mode
Using flash with manual mode can be a great way to add depth and creativity to your photos.
There are a few concepts that you need to understand when using flash with manual mode.
- Shutter speed controls available light, for example, sunlight or a lightbulb.
- Aperture controls flash or strobes. In other words, how bright or dim the strobe light will hit the subject.
- ISO controls the overall exposure. ISO is the sensitivity of how the sensor will capture the light.
Manual mode settings for each scene
When shooting in manual mode, it is essential to adjust the settings for each scene. Here is a cheat sheet you can use as a starting point, depending on what you are shooting.
Landscapes or Cityscapes
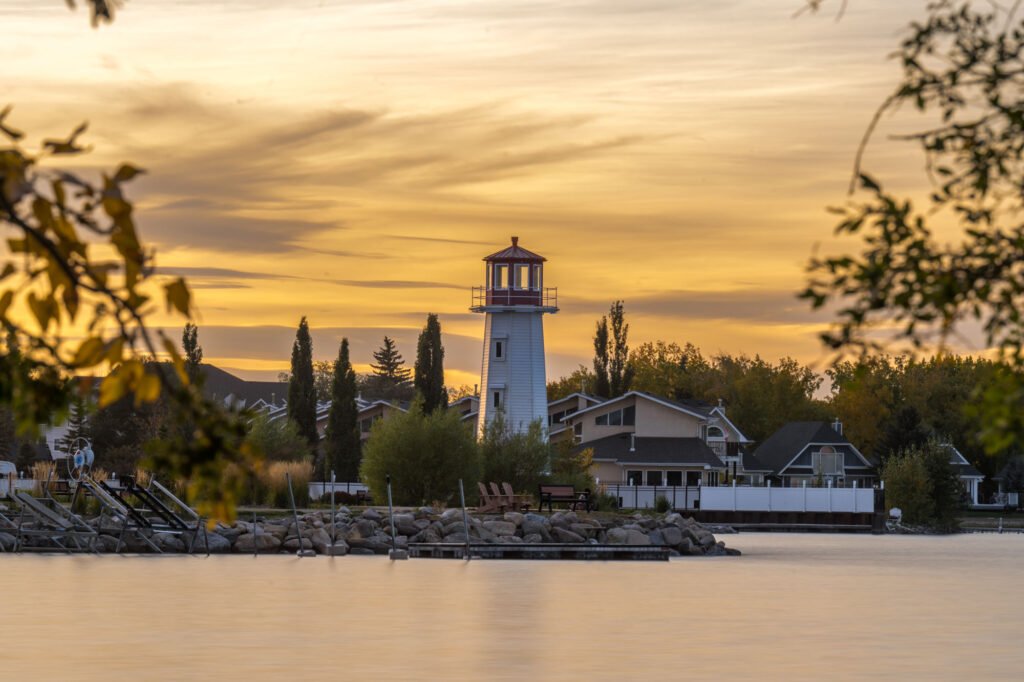
Aperture f8
ISO 100 or lower
Shutter Speed 2” to 1/200 (Very dependent on the weather)
Portraits

Aperture f2.8
ISO 100
Shutter Speed 1/125 or higher
Food and Products

Aperture f11
ISO 100
Shutter Speed 1/125 when using flash
Animals

Aperture f2.8
ISO 1600
Shutter Speed 1/1000 or higher
Remember to take this as a starting point and tweak it until you get the desired result.
Conclusion
All photographers should learn how to shoot in manual mode. It allows you to have complete control over the elements of your photograph, from exposure and shutter speed to aperture and depth of field. Manual mode gives you more creative freedom, quickly capturing motion blur or freeze action.
With a bit of practice, you’ll be able to master the settings and achieve better results than shooting in automatic mode. You can even use flash with manual mode to create unique images that may not be possible with other modes.
Finally, it’s important to remember that each scene requires different settings, so take some time to experiment and find what works best for you.
With these tips in mind, you should be able to dial in the perfect shot every time.