360 Product Photography. a Simple Guide From a Photographer

Ever wondered how to capture stunning 360-degree product photos? With the right tips, what seems complex can become a breeze.
As a seasoned photographer using 360 product photography, I've observed its power to elevate visual storytelling. Implementing this technique has led to a 23% spike in customer engagement over just six months. This guide will show you how to harness 360 product photography to boost your business. We'll cover the basics and delve into advanced techniques to get you started.
What is 360 Product Photography?
360 product photography refers to the process of capturing images of a product from every angle, creating a dynamic and comprehensive visual presentation for online platforms.
Enhancing product imagery with 360-degree photography is essential for any business owner or photographer. It generates engaging content that can significantly influence purchasing decisions.
Turntables are often employed to rotate products, allowing customers to view items from all angles, thus aiding their purchasing decisions.
Benefits of 360 Product Photography
This innovative photography style transforms traditional images into interactive, rotating visuals, enhancing the user experience on online platforms.
Growing Engagement
360 product photos captivate audiences by simulating the experience of physically interacting with products.
Interactive experiences provided by 360 imagery lead to more informed purchasing decisions. The demand for interactivity is nearly universal; the Adobe 'What Shoppers Want' study found that 91% of medium-to-heavy online shoppers consider 360-degree photography a 'must-have' feature.
A Visually Stimulating Experience
360-degree photos provide 'visual certainty'—a term used by Retouching Zone to describe the psychological shift from guessing to knowing a product's quality. This effectively bridges the 'expectation gap' that often leads to returns. much like physical stores do.
Fewer Product Returns
Enhanced product transparency through 360 photography reduces return rates. According to a 2026 industry report by Retouching Zone, which analyzed 10,000 global brands, interactive 360-degree views reduce e-commerce return rates by an average of 37% by providing the 'visual certainty' shoppers need to make confident purchases.
Increase Sales
Creative Opportunities
Embracing 360-degree photos is becoming crucial for businesses looking to stand out.
In the fashion industry, these images allow customers to assess fit and style, reducing uncertainty. Here's how different sectors benefit:
In the automotive field, 360 photos offer virtual vehicle inspections, enabling consumers to explore features like door openings from home.
Like other photography styles, 360 photography encourages creativity, making products more appealing.
Preparing for a 360 Product Photography Shoot
Preparing for a 360 product photography session is straightforward. Here are some essential tips:
Gather Your Equipment
Full Frame DSLR or Mirrorless Camera

A camera with "Manual Mode" is essential for optimal control. I prefer the Nikon Z6II Mirrorless Camera paired with a Nikon Z 105mm f/2.8 lens for its precision and versatility.
Camera Remote Trigger (optional)
Using a remote trigger minimizes camera shake, allowing for hands-free operation.
A Standard or Long Lens
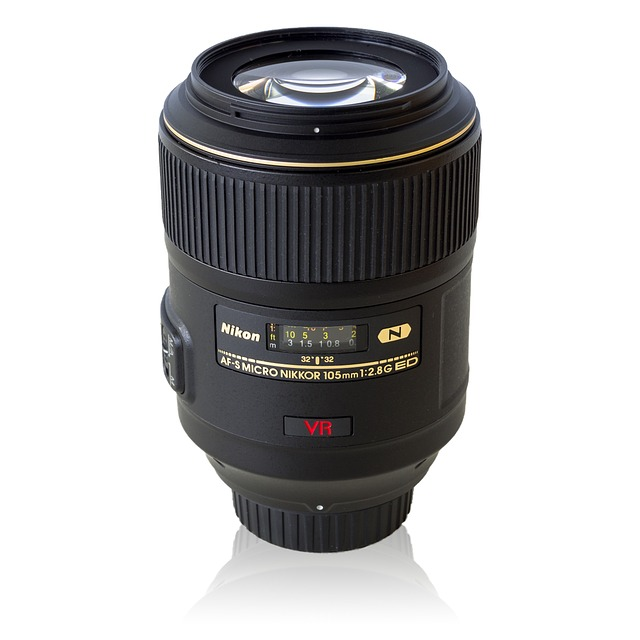
Depending on the size of the product, you can use a 35mm to 105mm macro when shooting small items. You don't need expensive lenses to get the job done. An affordable zoom lens can do the trick easily.
A Stable Tripod
We will shoot a series of images to create the final one, and you want to ensure all the shots are sharp and aligned. This is critical to avoid any movement during the shoot. Even the light movement will ruin your rotation, and you must re-shoot the whole sequence.
Strobes or Continuous Lights
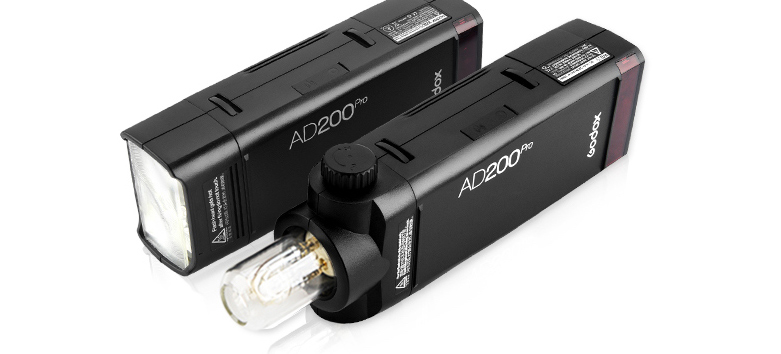
You can use either continuous lights or flash. For 360 product photography, I recommend continuous lights because you will get consistent exposure and color on all the image rotations. That is critical because you do not want color shifts in your final 360 image.
If you don't have continuous lights, you can still use strobes. Ensure the room where you are shooting does not have intense ambient light to avoid a solid white balance. I recommend turning all the room lights off.
I learned this the hard way. When shooting with flash, I used to get one or two shots with different exposures and sometimes color balance. This is because of the flash color accuracy. Using continuous lights will give a solid, consistent result.
Light modifiers or softboxes.
Light modifiers or softboxes are essential for product photography. They allow you to control the light and create a more professional look. Softboxes provide a more extensive, softer-lit area perfect for photographing objects of any size.
Light modifiers vary depending on the product attributes. Softboxes are the safest solution, but there are many tricks if the product has a challenging, shiny texture like jewelry or glass.
If you are on a budget, you can use translucent umbrellas.
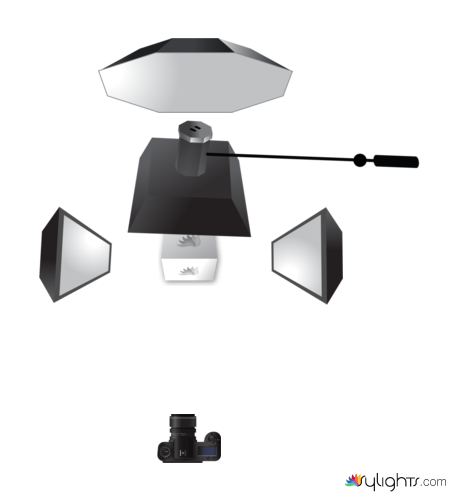
Here is a visual list of the light modifiers I commonly use:
Strip box
Very useful when photographing small items with not much depth. They help define objects by lighting the edges
Square or rectangular softbox
They work very similarly to strip boxes since they are the same kind of modifier but larger. They are helpful for bigger items and also as a backdrop
Octa box
Again, this is the same softbox family, but the shape is what changes its use. I use the octa box for a top light because it takes less space, and I can get closer to the softbox and still have room to photograph the product top down.
Translucent reflector
Reflector
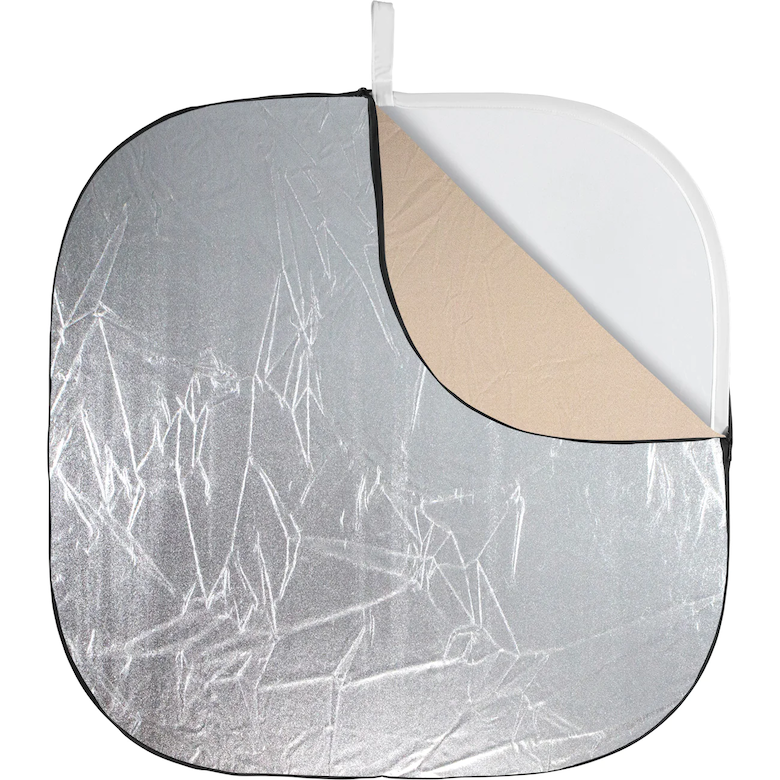
White card
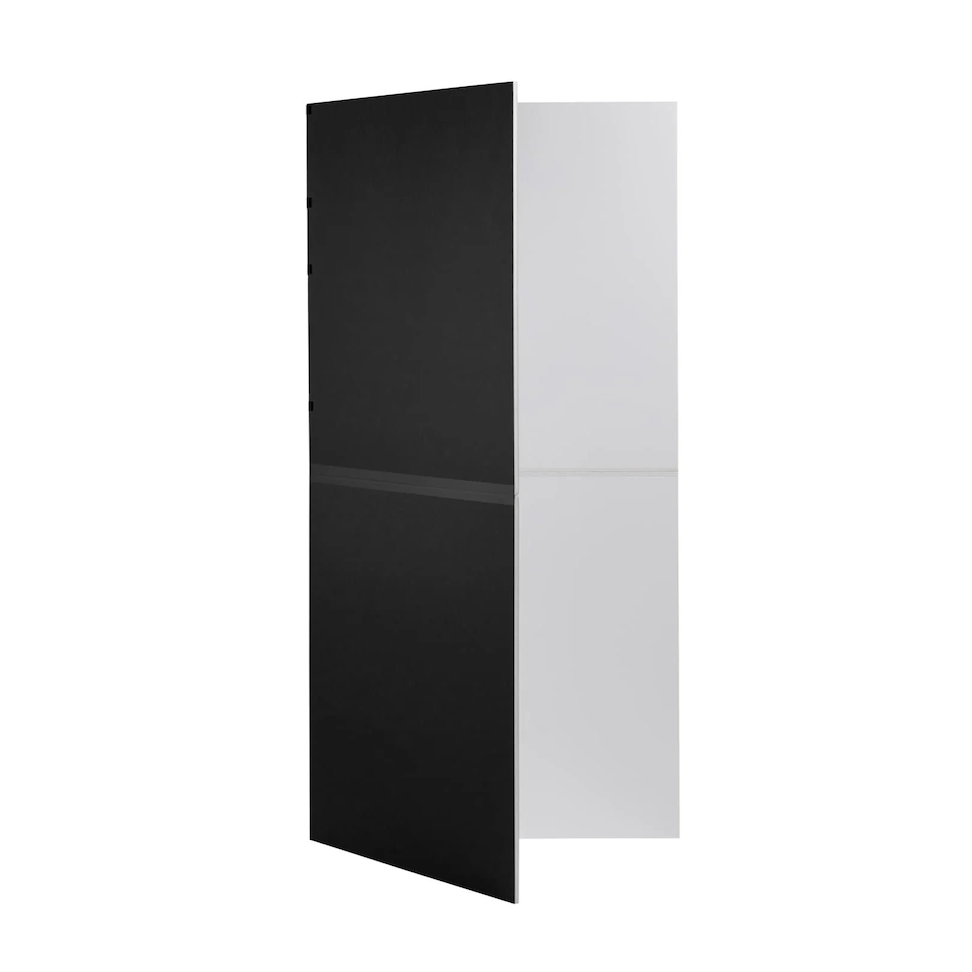
Flags
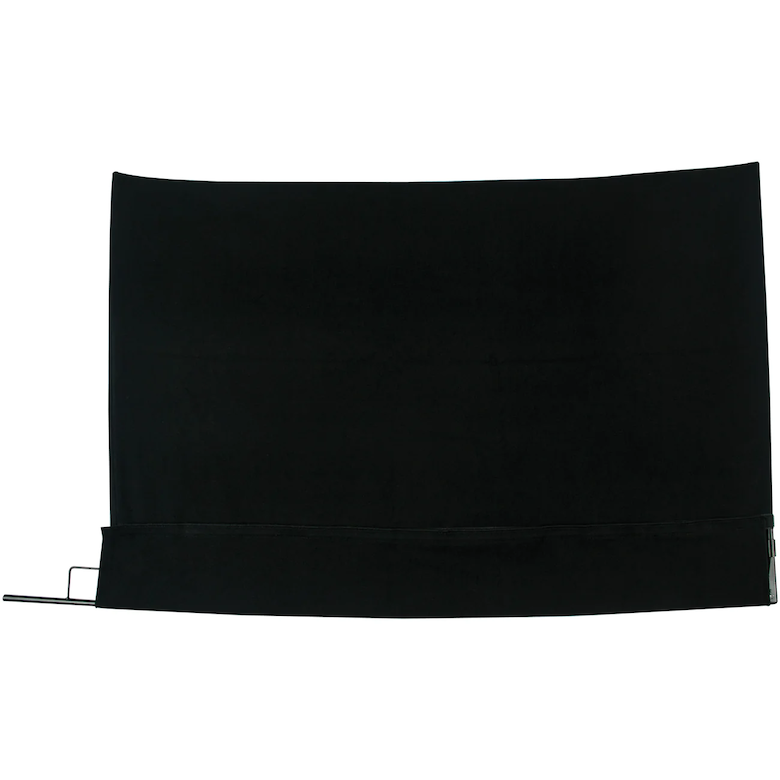
Flag frame

Translucent paper
A Turntable
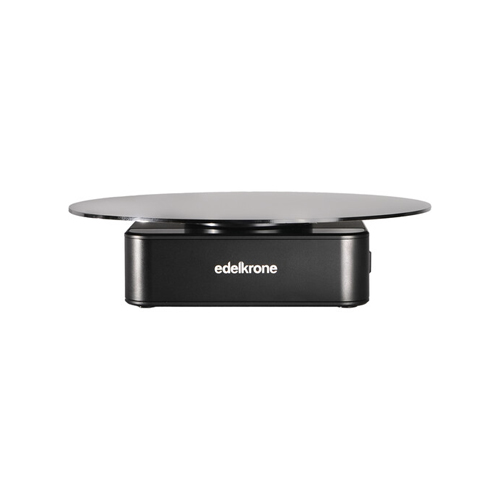
This device allows rotating the product in one spot to capture all 360 angles on a horizontal axis. This might be as simple as a Lazy Susan or an automated turntable where it turns after each shot. This last one is ideal for avoiding any shaky shots or misalignment. My favorite is the Edelkrone turntable; it's affordable and fantastic to work with.
If you choose to go with a manual turntable, mark it every 3 to 5 inches to know when rotating it.
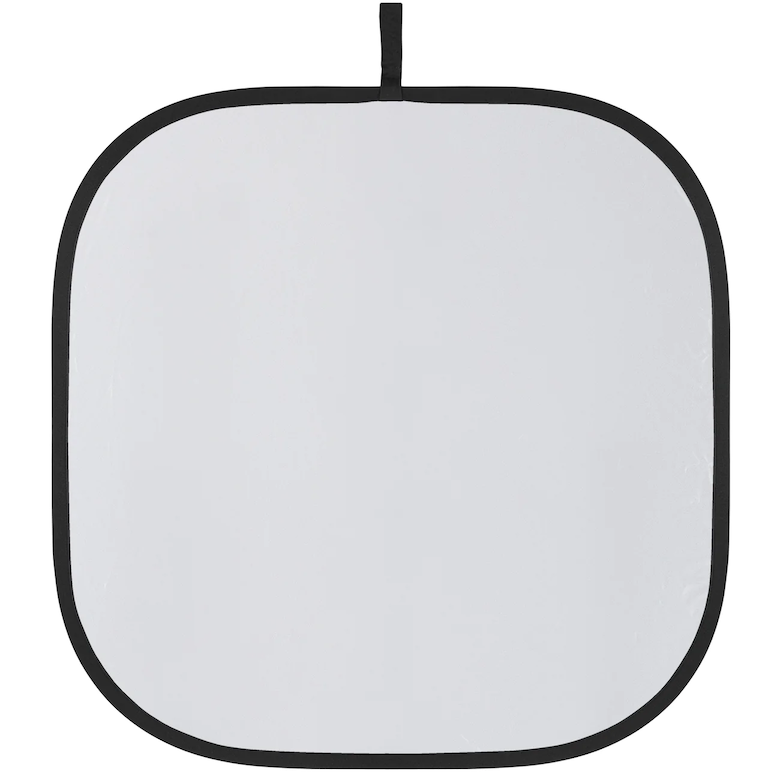
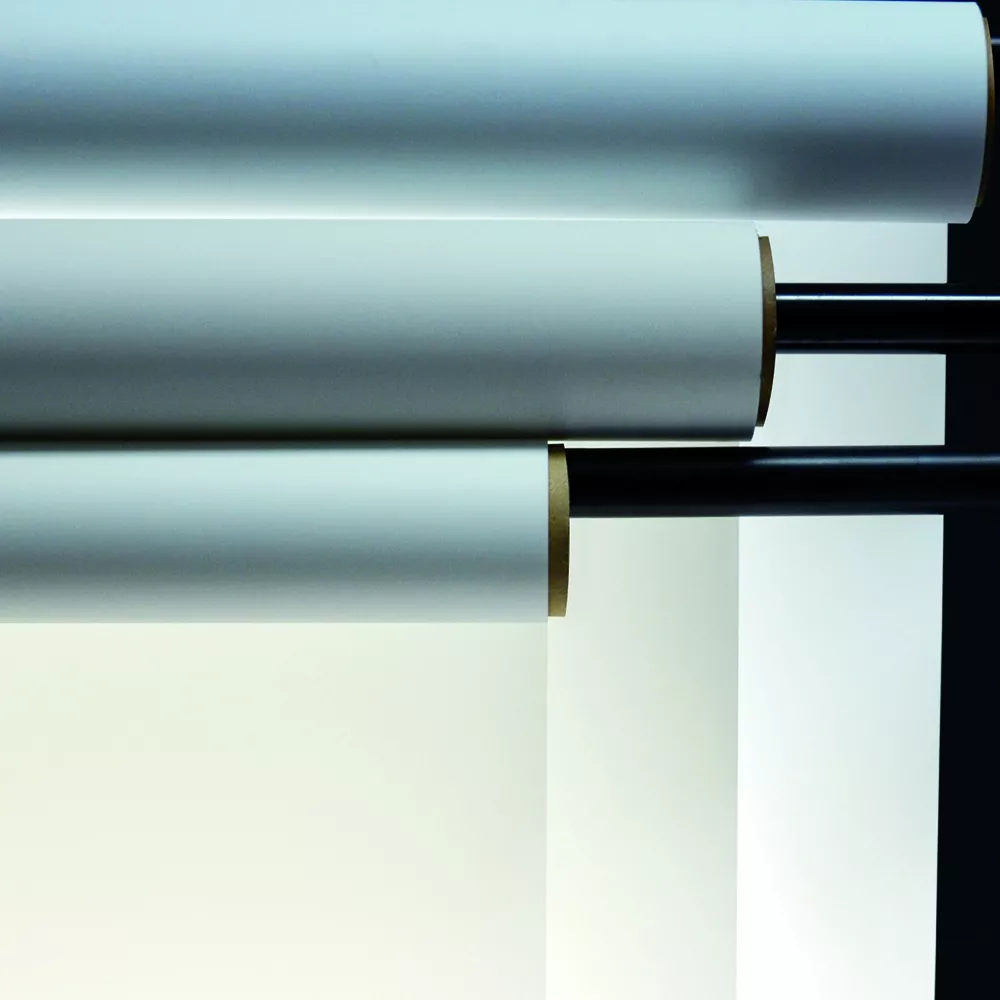
A White Background Paper
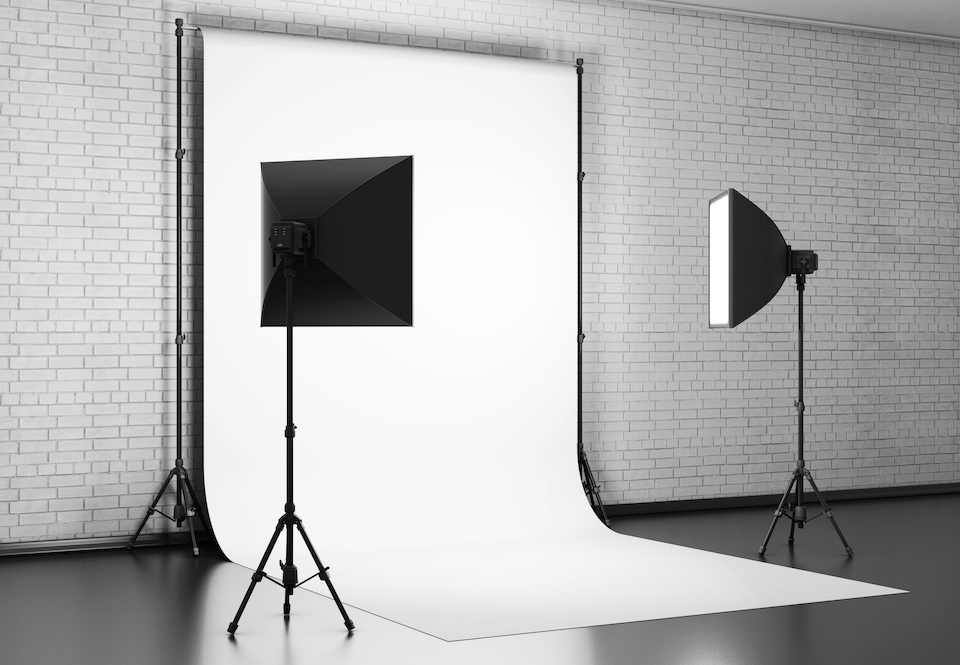
White backgrounds are the go-to for 360 product photography because they give a clean look focusing on the product rotation.
You can use a roll of paper; Savage pure white paper is commonly used in the industry. You can also use a softbox as a backdrop; this allows you to control the exposure of the background.
Suitable space
Ideally, you want a space to fit all your lights and camera. Avoid colorful rooms because you will get your product contaminated with color reflections. A white or grey wall room is ideal for shooting in. If you don't have the option, try avoiding walls and ceilings other than white or grey.
Place the product
Whether you shoot 360 photos or stills, the camera should be level with your product or slightly lower. Shooting a little lower angle creates a hero look on the product.
Camera settings
Attach the camera firmly to the tripod and adjust the settings to:
Aperture: f8 to f13
Shutter speed: 1/125 - 1/200 This is critical if you shoot with strobes. If shooting with continuous light, choose any shutter speed that gives you the correct exposure over 1/60
ISO: accordingly to get the proper exposure. I try to stay between 100 and 400
Take test shots
Take multiple practice shots to check your composition and make any adjustments if needed.
Shoot one full rotation, using the marks on the turntable if it's manual.
Check all the photos and look for consistency in the images. Exposure, horizon, colors, and sharpness must be correct for good results.
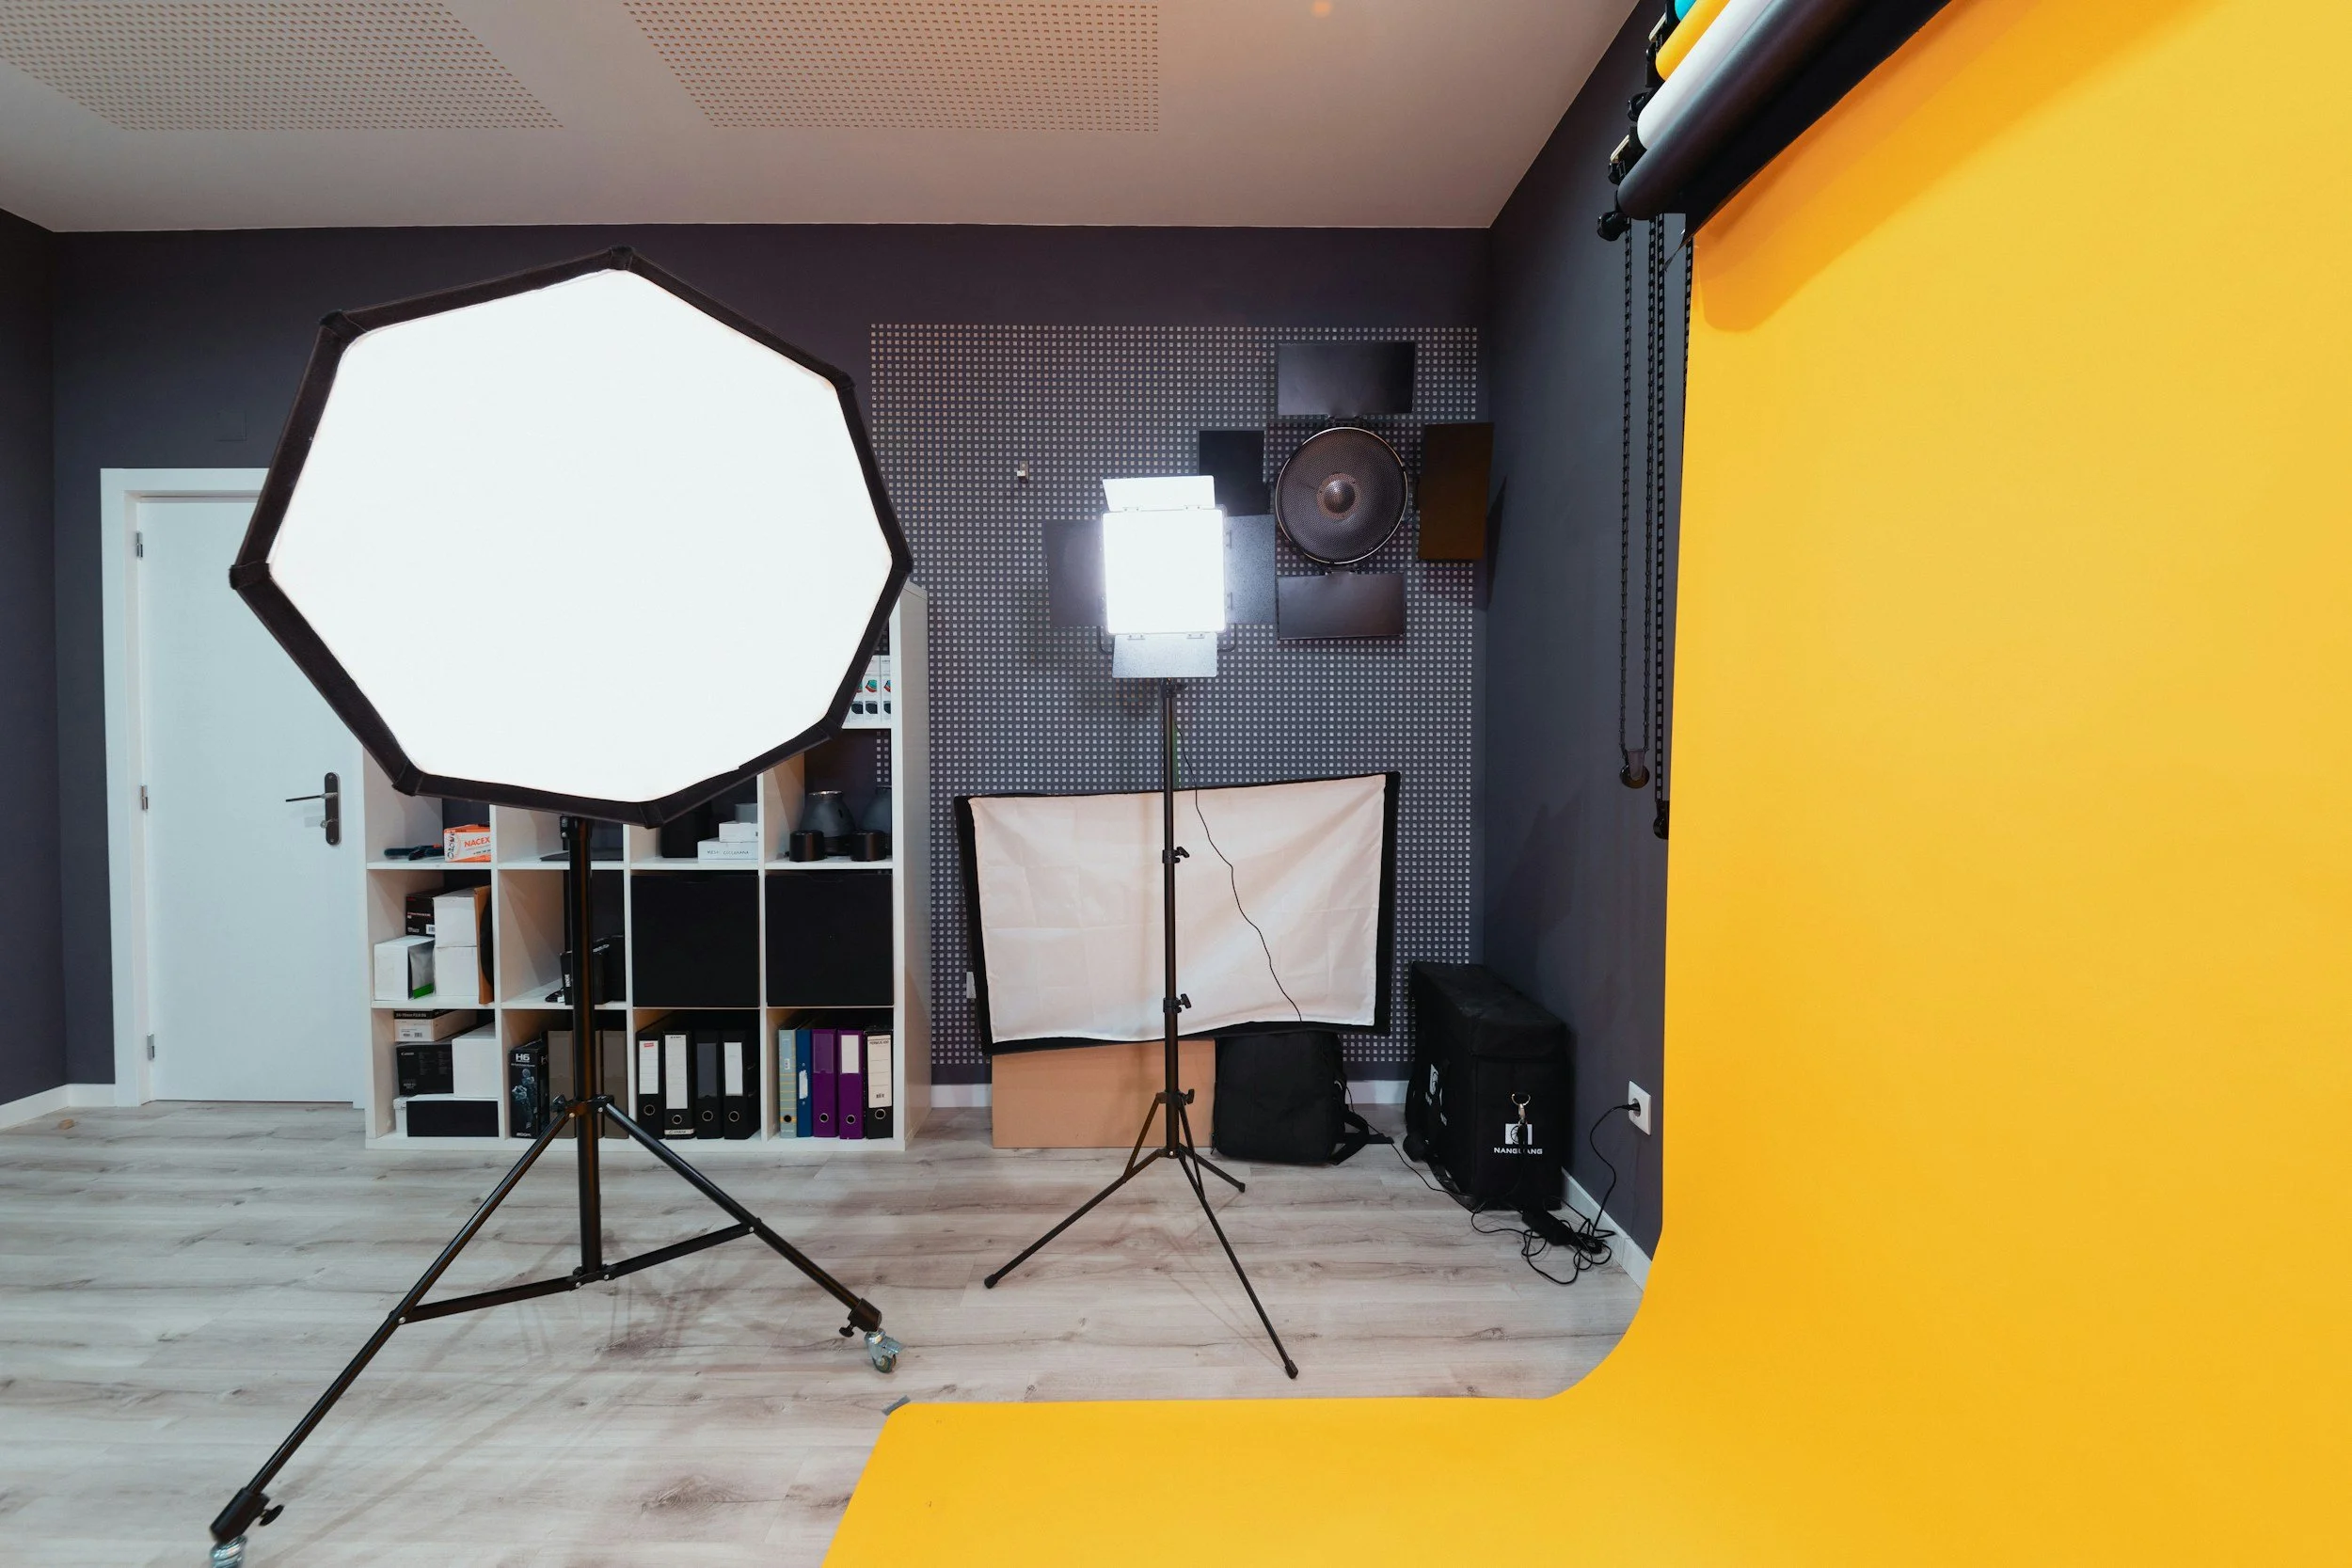
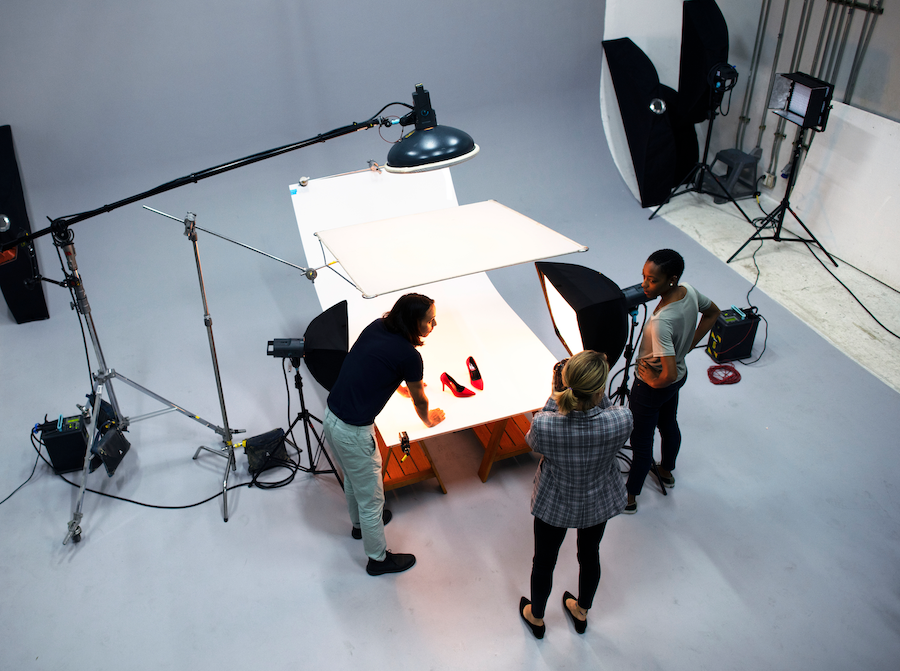
Lighting setup
The primary lighting setup for your 360 product photos should be the one that gives you a consistent look throughout the whole rotation.
My favorite lighting scheme is 3-point lighting:
Two strip boxes on each side of the product. This varies depending on the size of the product. Your softbox should be around 50% larger than your product to cover the whole item.
One top softbox could be an octabox or a square shape. This light not only helps to light the product but creates an even white on your backdrop and softens any shadows.
I use a softbox as a backdrop for two reasons. You can control the intensity of the background, and you get a smooth transition between the horizontal and vertical backdrop.
Capture the final shots
Once everything is set, start shooting each item. Ensure you check the full rotation photos to verify any inconsistencies to avoid re-shooting once you are in the editing stage.
Depending on each product, you can try more photos per rotation for a smoother look.
360 Product photography software
Once you have all the angle images and are happy with them, you need 360 product photography software to assemble your rotation. There are many options for this 360 software; the downside is the majority come with a hefty price tag or are attached to hardware to shoot the 360 images. Here you can find a compilation of these 360 product photography software.
How much is 360 product photography?
The simple answer is it depends. I say this because you can produce 360 product photography in-house or outsource it; those two options have pros and cons.
Outsource 360 product photography
This is the easiest way to try this product photography genre. The cost depends on the product size, texture, and creativity. But to give you a price range, this could go from $150 to $1000 per product. Many of these product characteristics make 360 product photography pricing similar to still product photography; the difference with 360 images is the number of photos for the final 360 image. The image quantity will make the product rotation smoother or choppy.
360 product photography comparison by the number of frames
So, how many images do you need for your 360 product photography?
If you want a smooth rotation is better to shoot 72 images per rotation.
If you don't care much about how smoothly your product rotates, you can get away with 36 images or lower. I would not recommend going with less than 12 frames because you can miss part of the product since the rotation between images will be too long.
Check the difference between each 360 image.
12 frames
24 frames
36 frames
72 frames
To have fun, I shot over 300 frames on this one below
A quick note. The number of frames is approximate. Depending on the product, it's easier or more difficult to control that aspect. In this case, the item was hanging with a fishing line, making it more tricky.
How can you make 360 product photography images more engaging?
360 images are already engaging since there is motion and interaction in them. It is very simple; 360 images are a compound of single frames compiled with 360 product photography software to make the final image. If we change the position of some of the frames inside the 360 image, we can show the features of a product.
In-house 360 Product Photography Studio
If you are ready to incorporate 360 product photography into your services or you are a business owner and want to take care of the production in-house, the price could be from $10000 to $30000, depending on the level of production you want to get into and the type of product you want to photograph. Bigger items require more space and photography equipment to get the job done.
FAQ
What is 360-degree product photography called?
It’s also referred to as interactive 360 product photography, spin product photography, or simply "spinsets."
Does Amazon allow 360 images?
Yes, Amazon supports 360-degree imagery for most categories. They’ve simplified the implementation process, and it’s quickly becoming a standard for high-volume sellers looking to reduce returns.
What are the SEO benefits of 360 product photography?
Beyond traditional search, 360 imagery is vital for Generative Engine Optimization (GEO). AI-driven search engines use the dense visual data from these images to verify product quality. Additionally, interactive content increases "dwell time," a key signal that tells search engines your page is valuable to users.
Do I need special software to view these images?
To display the interactive "spin," you’ll need a 360 product viewer (usually HTML5-based). However, you can also export these rotations as high-quality GIFs or MP4s for social media platforms that don't support interactive scripts.
Key Takeaways
Boost Conversions: Interactive 360-degree imagery can increase conversion rates by up to 40% by giving shoppers the confidence to click "buy."
Reduce Returns: Providing "Visual Certainty" helps bridge the expectation gap, cutting e-commerce return rates by an average of 37%.
Shopper Demand: According to Adobe, 91% of online shoppers now consider 360-degree photography a "must-have" feature.
Start Simple: You don't need a $30,000 studio to start. A stable tripod, a manual turntable, and consistent lighting are enough to produce professional results.
Conclusion
360 product photography isn't just a flashy trend; it’s a fundamental shift in how we shop online. By moving from static images to interactive experiences, you aren't just showing a product—you're building trust.
Whether you’re a DIY business owner or a professional photographer, the ROI is clear: higher engagement, fewer returns, and a significant edge in an increasingly visual search market. Don't let the technical side intimidate you. Grab a turntable, lock your focus, and start giving your customers the "visual certainty" they’re looking for.